Key takeaways
- Rekey or replace all exterior locks right away, and reset garage, keypad, and alarm codes.
- Find and test your main water shutoff, label your electrical panel, and know where the gas shutoff is.
- Test every smoke and carbon monoxide detector, replace any alarm older than 10 years, and plan two ways out of each room.
- Reread your inspection report, fix safety issues first, and note the age of major systems so you can plan replacements.
- Change the HVAC filter, schedule a tune-up if there are no service records, check for leaks, and set the water heater to 120°F.
- Deep clean before unpacking, watch for pests, and make quick energy upgrades like LED bulbs and sealing drafts.
- Keep home records in one place, set up a maintenance calendar, and save 1 to 4 percent of your home’s value each year for upkeep
Congratulations on your new home! Getting the keys is an exciting moment, but it also comes with a long list of new responsibilities. As a renter, you could call a landlord when something broke. Now, you’re the one in charge of keeping your home safe, comfortable, and in good shape.
The first 30 days in a new home are the perfect time to get organized. Before your schedule fills up and boxes get pushed into closets, you can learn how your home works, fix small problems before they grow, and set up habits that will save you money for years. Taking care of a few key tasks now can also protect your family and your investment.
This guide walks you through the most important home maintenance steps to take in your first month. From changing the locks to finding your shutoff valves and building a simple maintenance plan, these tips will help you start homeownership with confidence.
1. Change the Locks and Secure Your Home
You have no way of knowing how many copies of your house keys are out there. Previous owners may have given keys to neighbors, relatives, dog walkers, contractors, or cleaners. Changing or rekeying your locks should be one of the very first things you do.
Rekeying is often the cheapest option. A locksmith changes the inside of your existing locks so old keys no longer work. It usually costs much less than buying all new hardware. You can also replace locks yourself with a basic screwdriver, or upgrade to smart locks that let you use a code or your phone. Don’t forget the garage door, side doors, and any sliding doors.
Next, reset the garage door opener codes and any keypad entry codes. If the home has a security system, call the company to transfer the account, change all passwords, and update emergency contacts. Walk around the outside of your home at night to check for dark spots, and add motion-sensor lights near entrances if needed.
- Rekey or replace all exterior locks right away.
- Reset garage door openers, keypad codes, and alarm passwords.
- Check outdoor lighting and add motion lights near doors.
2. Find Your Main Shutoffs Before You Need Them
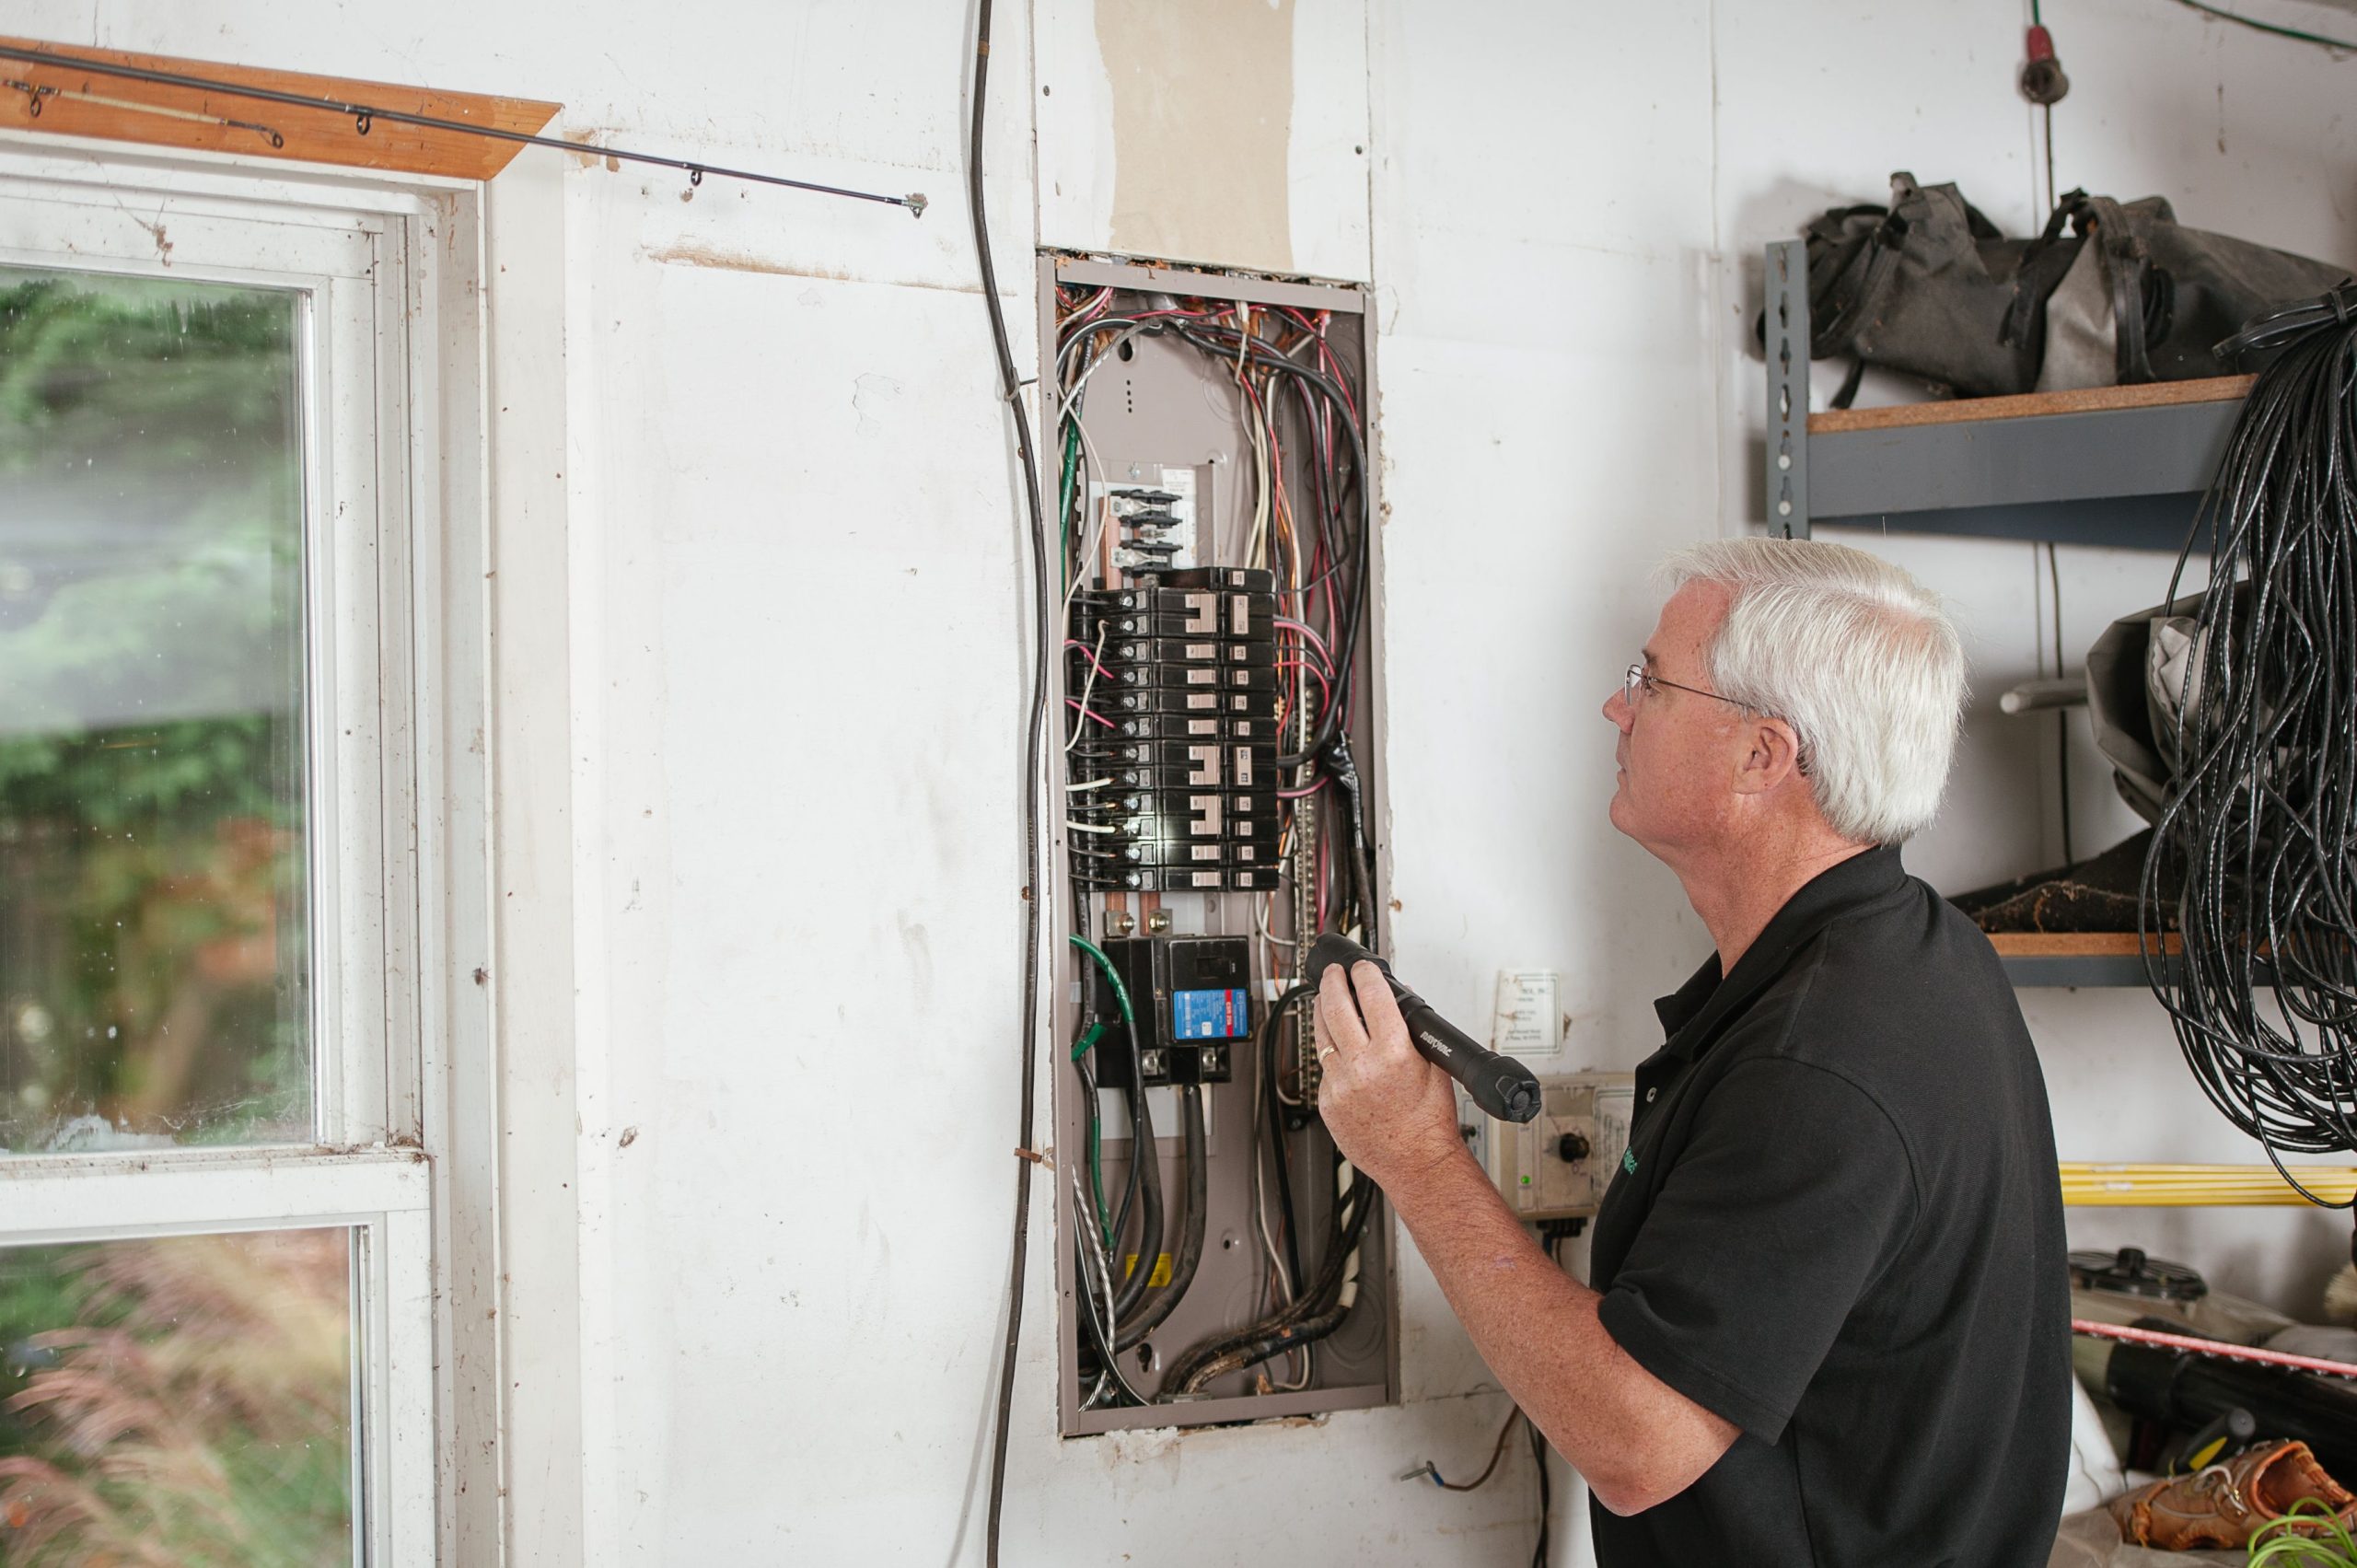
When a pipe bursts or a wire sparks, you won’t have time to search the house. That’s why it’s important to find your main shutoffs during your first week. Make sure every adult in the home knows where they are and how to use them.
Start with the main water shutoff valve. It’s often in the basement, crawl space, garage, utility room, or near the water heater. In warm climates, it may be outside near the foundation or in a box near the street. Turn it off and on gently to make sure it works. Also find the smaller shutoff valves under each sink and behind each toilet.
Next, locate your electrical panel, often called the breaker box. Check that each breaker is clearly labeled. If it isn’t, flip breakers one at a time with a helper and write down which rooms or appliances each one controls. If your home uses natural gas, find the gas meter and shutoff valve. Don’t turn off the gas unless you smell gas or there’s an emergency. If you ever smell gas, leave the house right away and call your gas company or 911 from outside.
- Find and test the main water shutoff and fixture valves.
- Label every breaker in your electrical panel.
- Locate the gas shutoff and know what to do if you smell gas.
3. Test Smoke and Carbon Monoxide Detectors
Don’t assume the safety devices in your new home work. Test every smoke alarm by pressing and holding the test button. Replace batteries right away if needed. Smoke alarms should be on every level of your home, inside each bedroom, and outside sleeping areas. Most smoke alarms need to be replaced every 10 years. Check the date printed on the back, and if you can’t find one, it’s safest to replace the alarm.
Carbon monoxide, or CO, is a gas you can’t see or smell. It can come from gas furnaces, water heaters, stoves, fireplaces, and attached garages. If your home has any fuel-burning appliances or an attached garage, install CO detectors on every level and near sleeping areas. Combination smoke and CO alarms are an easy way to cover both.
Buy at least one fire extinguisher for the kitchen and consider one for the garage and each floor. Learn how to use it with the PASS method: pull the pin, aim at the base of the fire, squeeze the handle, and sweep side to side. Finally, plan two ways out of each room and pick a meeting spot outside for your family.
- Test all smoke alarms and replace any older than 10 years.
- Install CO detectors on every level if you have gas or an attached garage.
- Keep fire extinguishers handy and make a family escape plan.
4. Review Your Inspection Report and Make a Priority List
Your home inspection report is one of the most useful tools you have as a new homeowner. Many people read it before closing and then forget about it. Pull it out again during your first month and read it carefully. It’s a roadmap of your home’s current condition and the repairs it may need soon.
Sort the items into three groups. First, list safety issues, like faulty wiring, missing handrails, or gas leaks, and fix them right away. Next, list problems that could cause bigger damage if ignored, such as roof leaks, poor drainage, or plumbing drips. Finally, list cosmetic or “someday” projects, like painting or updating fixtures, that can wait.
Use the report to note the age of major systems, such as the roof, furnace, air conditioner, and water heater. This helps you plan and budget for future replacements. If something on the report confuses you, call your inspector and ask. Most are happy to explain their findings. For bigger concerns, get quotes from licensed professionals before starting work.
- Reread your inspection report during the first month.
- Fix safety issues first, then problems that could cause damage.
- Note the age of major systems to plan for future costs.
5. Get to Know Your Heating and Cooling System
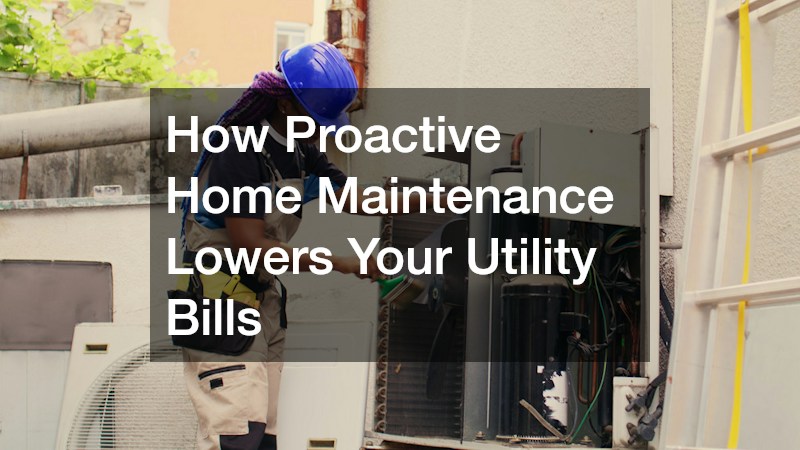
Your HVAC system is one of the most expensive parts of your home to repair or replace, so it’s worth getting to know it early. Find the furnace or air handler, the outdoor AC unit or heat pump, and the thermostat. Look for a sticker or tag on the equipment that shows the model number and install date. Most systems last about 15 to 20 years.
The easiest task is changing the air filter. You likely don’t know when it was last replaced, so put in a fresh one right away. Check the size printed on the old filter’s edge and buy a few extras. Most 1-inch filters need changing every one to three months, and more often if you have pets or allergies.
If the previous owners can’t show records of recent service, schedule a professional tune-up. A technician will clean key parts, check for safety problems, and let you know about any repairs. Also, walk around the outdoor unit and clear away weeds, leaves, and clutter. Keep about 2 feet of open space around it so air can flow freely.
- Find your HVAC equipment and note its age.
- Replace the air filter right away and set reminders.
- Schedule a tune-up and keep the outdoor unit clear.
6. Check Plumbing, the Water Heater, and Drainage
Water damage is one of the most common and costly problems homeowners face, so take time to check for leaks early. Look under every sink with a flashlight for drips, water stains, or warped cabinet bottoms. Check around toilets, tubs, and the washing machine. Do a quick toilet leak test by adding a few drops of food coloring to the tank. If color shows up in the bowl after 15 minutes without flushing, the flapper needs replacing.
Find your water heater and check its age on the label. Tank water heaters usually last about 8 to 12 years. Look for rust, puddles, or moisture around the base. Set the temperature to about 120°F, which is safe for most households and saves energy. Plan to drain a few gallons once a year to flush out sediment.
Outside, make sure water flows away from your home. Clean gutters, and check that downspouts empty at least 4 to 6 feet from the foundation. The ground near your house should slope away so rainwater doesn’t pool against the walls. If you have a basement with a sump pump, test it by pouring a bucket of water into the pit.
- Look for leaks under sinks and do a toilet dye test.
- Check the water heater’s age and set it to 120°F.
- Make sure gutters, downspouts, and grading move water away.
7. Deep Clean and Check for Pests
The best time to deep clean is before all your furniture and boxes are in place. Clean inside cabinets, closets, and drawers, and wipe down baseboards and light switches. Clean the refrigerator, oven, and dishwasher, including the dishwasher filter. Run cleaning cycles on the washing machine and dishwasher to remove any leftover buildup.
Don’t skip the hidden spots. Clean the dryer lint trap and the dryer vent hose, since lint buildup is a fire hazard. Wash or replace bathroom exhaust fan covers and range hood filters. If the home had pets or smokers, consider having the carpets and air ducts professionally cleaned.
While you’re cleaning, keep an eye out for signs of pests. Look for droppings in cabinets and the garage, chewed wires or boxes, mud tubes along the foundation, or small piles of sawdust near wood. Seal gaps around pipes, doors, and windows with caulk or steel wool to keep critters out. If you spot signs of termites, rodents, or other serious pests, call a licensed pest control company quickly.
- Deep clean cabinets, appliances, and closets before unpacking.
- Clean the dryer vent, exhaust fans, and range hood filters.
- Look for signs of pests and seal entry points.
8. Make Easy Energy Upgrades
Your first utility bills in a new home can be a surprise, especially if the house is bigger or older than your last place. The first month is a great time to learn how to lower utility bills at home with a few quick, low-cost changes.
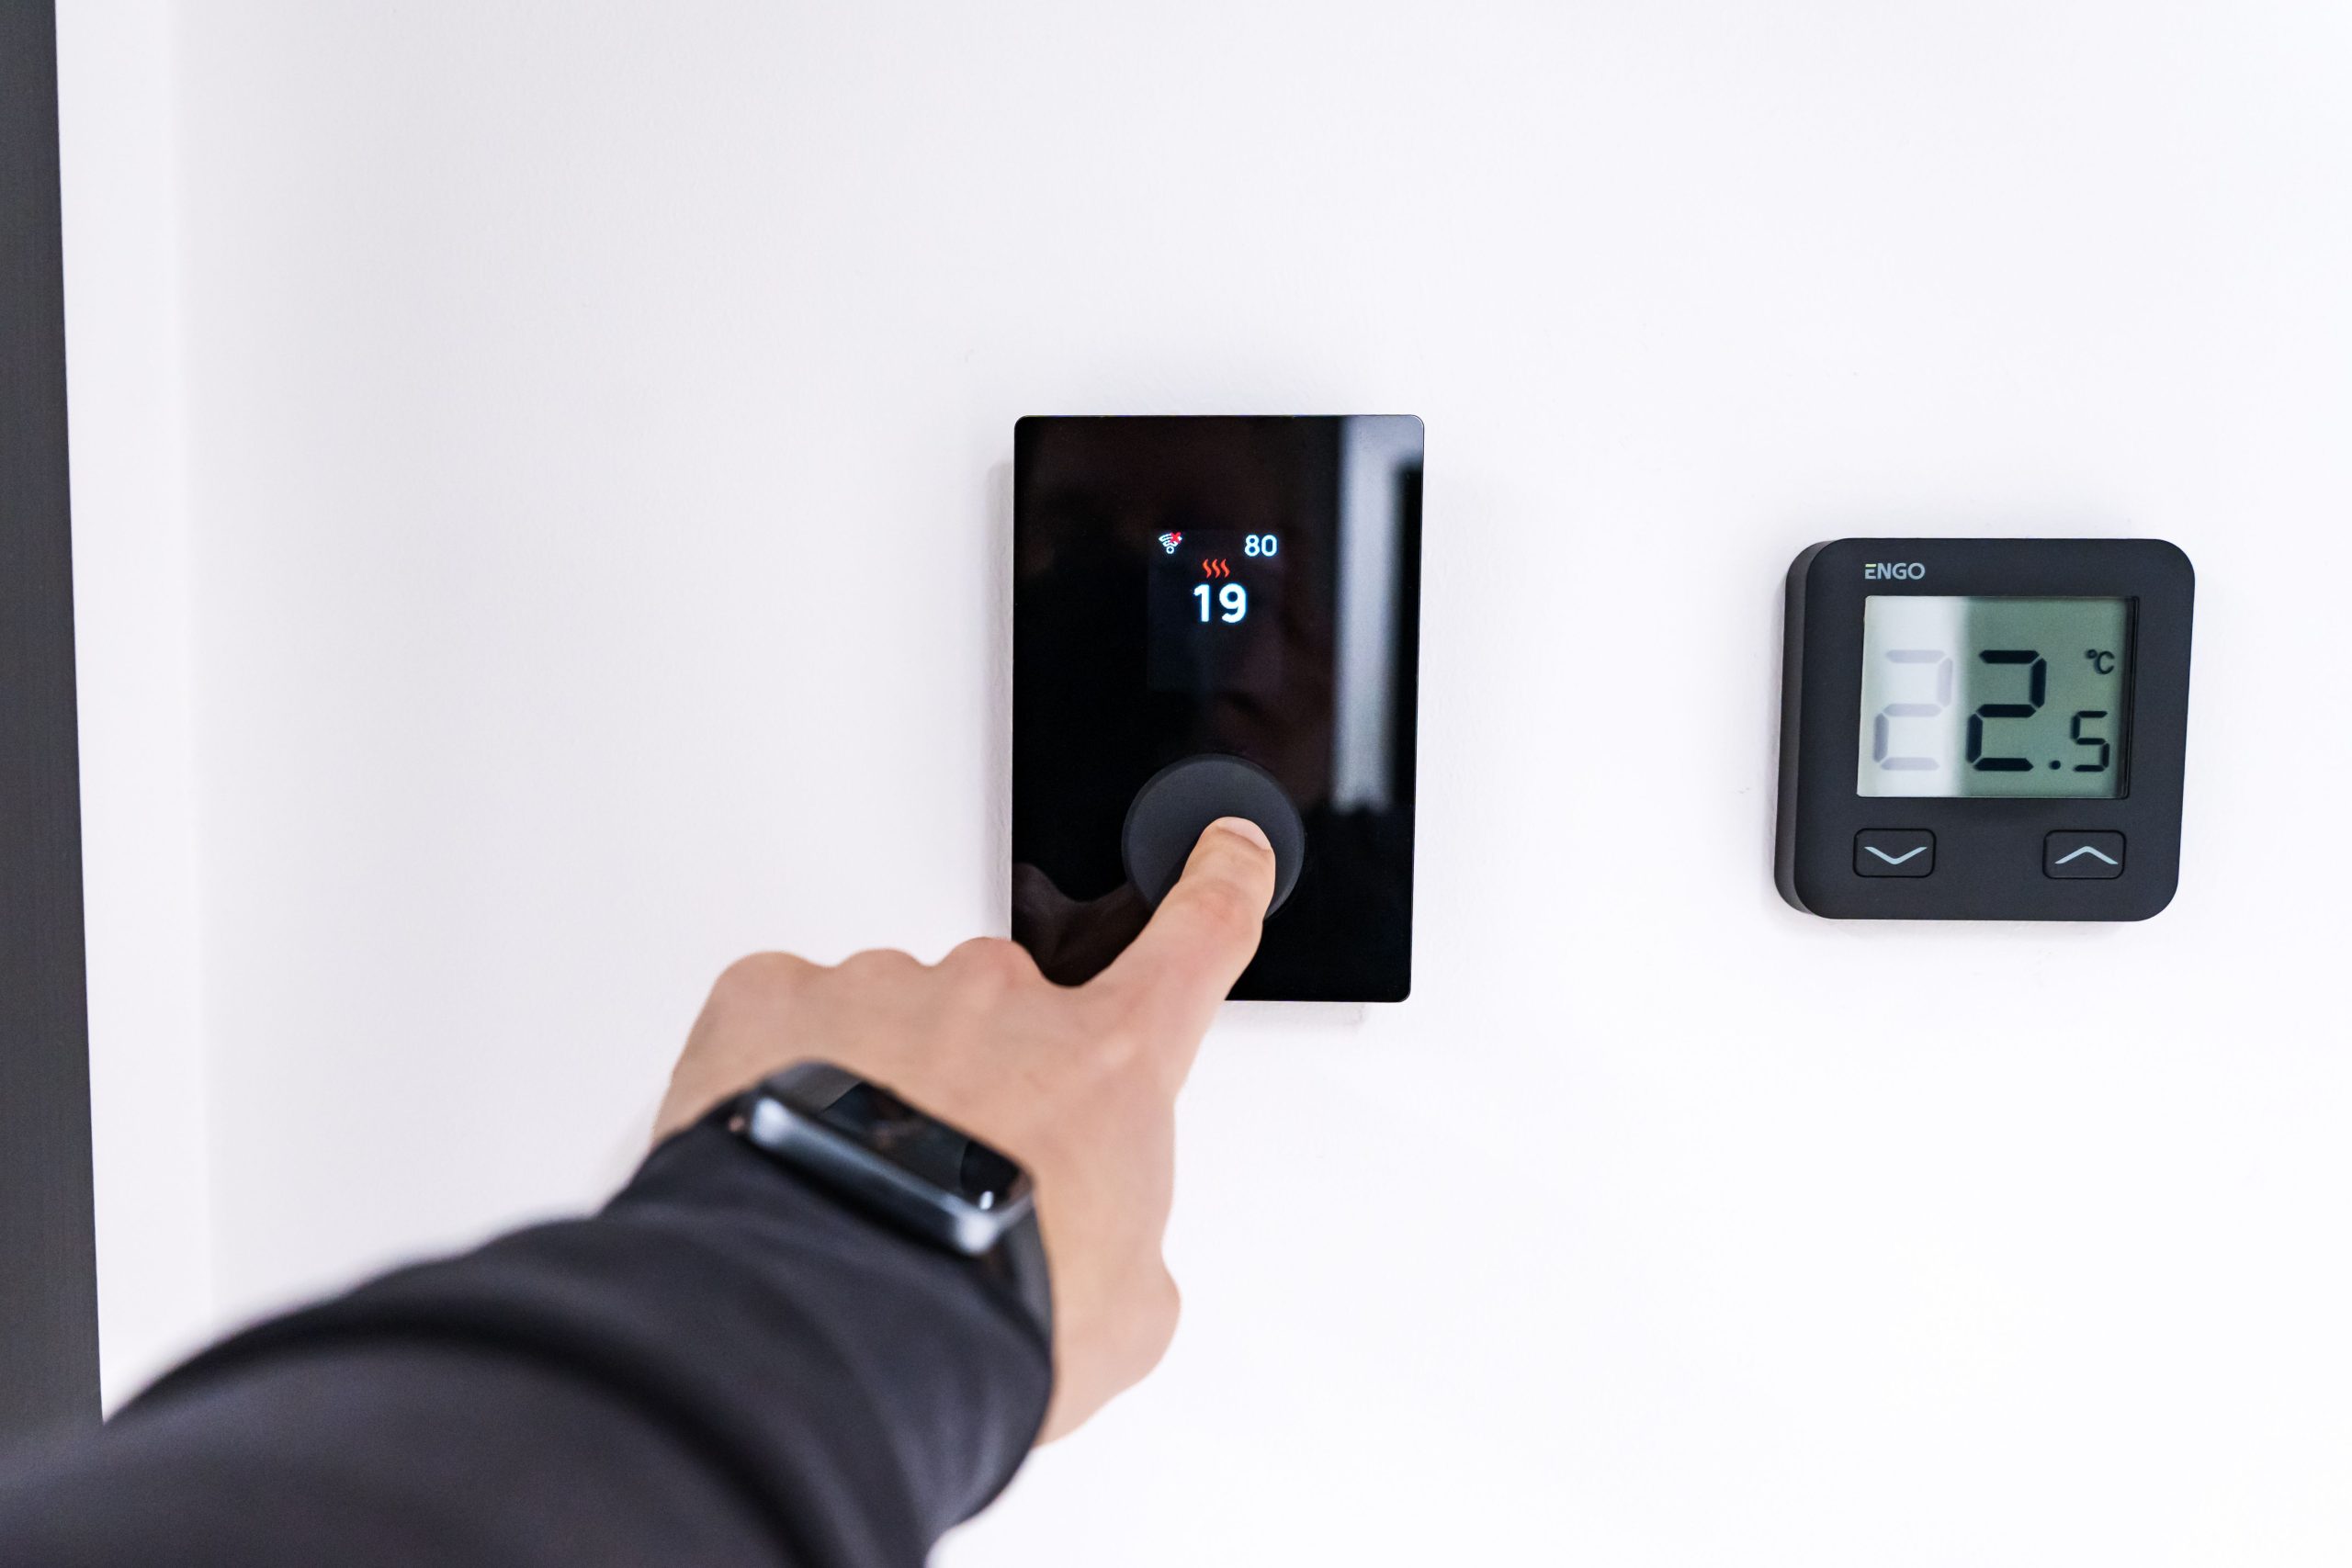
Start by swapping any old incandescent or CFL bulbs for LEDs, which use much less energy and last for years. Install a programmable or smart thermostat if your home doesn’t have one, and set it to lower the heat or raise the AC while you’re asleep or away. Many utility companies offer rebates on smart thermostats, so check their website first.
Next, hunt for drafts. On a windy day, hold a lit incense stick or your hand near windows, doors, and outlets on outside walls. If you feel air moving, seal the gaps with weatherstripping, caulk, or foam outlet gaskets. Check that your attic has enough insulation. If you can easily see the tops of the floor joists, you probably need more. Ask your utility company whether they offer a free or low-cost home energy audit to find more savings.
- Switch to LED bulbs and install a programmable or smart thermostat.
- Seal drafts around windows, doors, and outlets.
- Check attic insulation and ask about a home energy audit.
9. Organize Records, Set a Schedule, and Budget for Upkeep
A little organization now will save you headaches later. Create a home binder or digital folder to store important papers. Include your closing documents, inspection report, home insurance policy, warranties, appliance manuals, and receipts for any repairs. Take photos of appliance labels showing model and serial numbers so you can order parts or file warranty claims easily.
Next, build a simple maintenance calendar. Add monthly reminders, like changing HVAC filters and testing detectors. Then add seasonal tasks, such as cleaning gutters in spring and fall, servicing the AC in spring, and the furnace in fall. Setting phone or calendar reminders makes these tasks hard to forget.
Finally, set up a home maintenance fund. A common rule of thumb is to save 1 to 4 percent of your home’s value each year for repairs and upkeep. Older homes usually need more. Even saving a set amount from each paycheck can keep a surprise repair from becoming a crisis. Take time to read your homeowners insurance policy too, so you know what’s covered and what isn’t, such as flood damage.
- Keep all home documents, manuals, and warranties in one place.
- Create a maintenance calendar with monthly and seasonal reminders.
- Save 1 to 4 percent of your home’s value each year for upkeep.
Conclusion
Your first 30 days as a homeowner set the tone for everything that follows. By changing the locks, finding your shutoffs, and testing safety devices, you protect your family from day one. Reviewing your inspection report, getting to know your HVAC and plumbing, and checking for leaks and pests help you catch problems early, when they’re easier and cheaper to fix.
Small energy upgrades can lower your monthly costs, and a simple system of records, reminders, and savings makes long-term upkeep much less stressful. You don’t need to be a handy expert to do most of these tasks. You just need a plan and a little time each week.
Take it one step at a time. Print this list, check off a few tasks each weekend, and celebrate your progress. Before you know it, you’ll know your home inside and out, and you’ll be ready to enjoy it for many years to come.